
Example: A basic template creation in the Responsive Design Editor, step by step — 6. Create a basic journey
In the previous step, the template has been tested/previewed from the Content section.
We'll now :
- create a basic journey from the template
- edit some unlocked content
- set up a constraint, so the final email will only target a limited audience
- send out the final email to the target audience
Create a journey
There are different types of journeys.
We'll create a Single Batch Journey (other types are Single Batch AB Journeys, Transactional Journeys, Recurring Batch Journeys, Custom Journeys).
A Single Batch Journey can be created from the Journeys section, or directly from the email in the Content section.
We'll choose the second option.
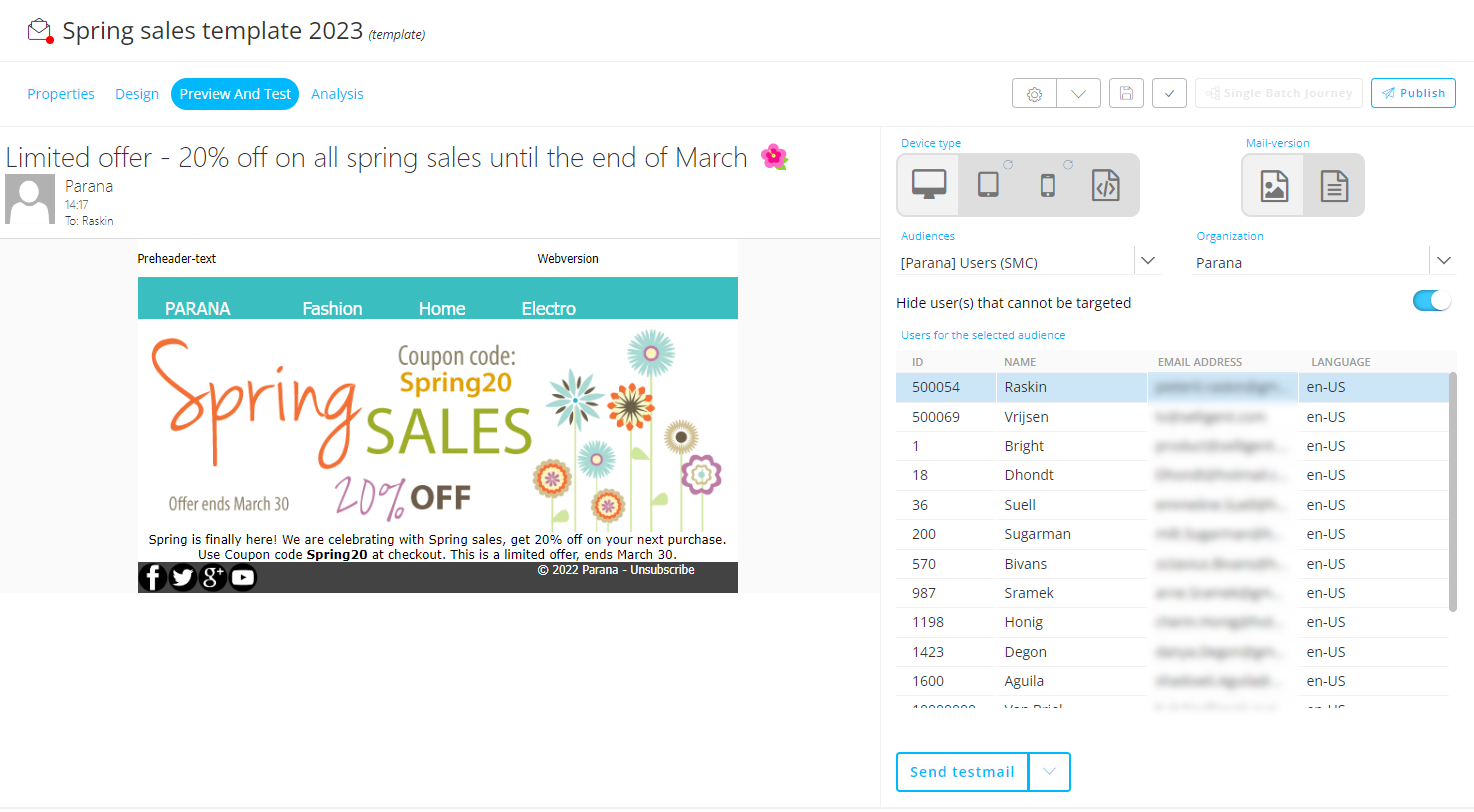
In order to do so, our template needs to be saved, validated and published (if not validated, publishing will also show if any validation errors/warnings occur).
Note: If any validation errors occur, they are shown in red.
Warning are shown in yellow (and they don't prevent you from publishing a message).
After publishing the template, you'll notice that the 'Single Batch Journey' button becomes enabled.
This means that the publish process has been executed successfully and a Single Batch Journey can now be created directly from within the template.
Execute the following steps :
-
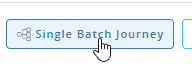
Click on the 'Single Batch Journey' button.
-
The following screen is shown.
-
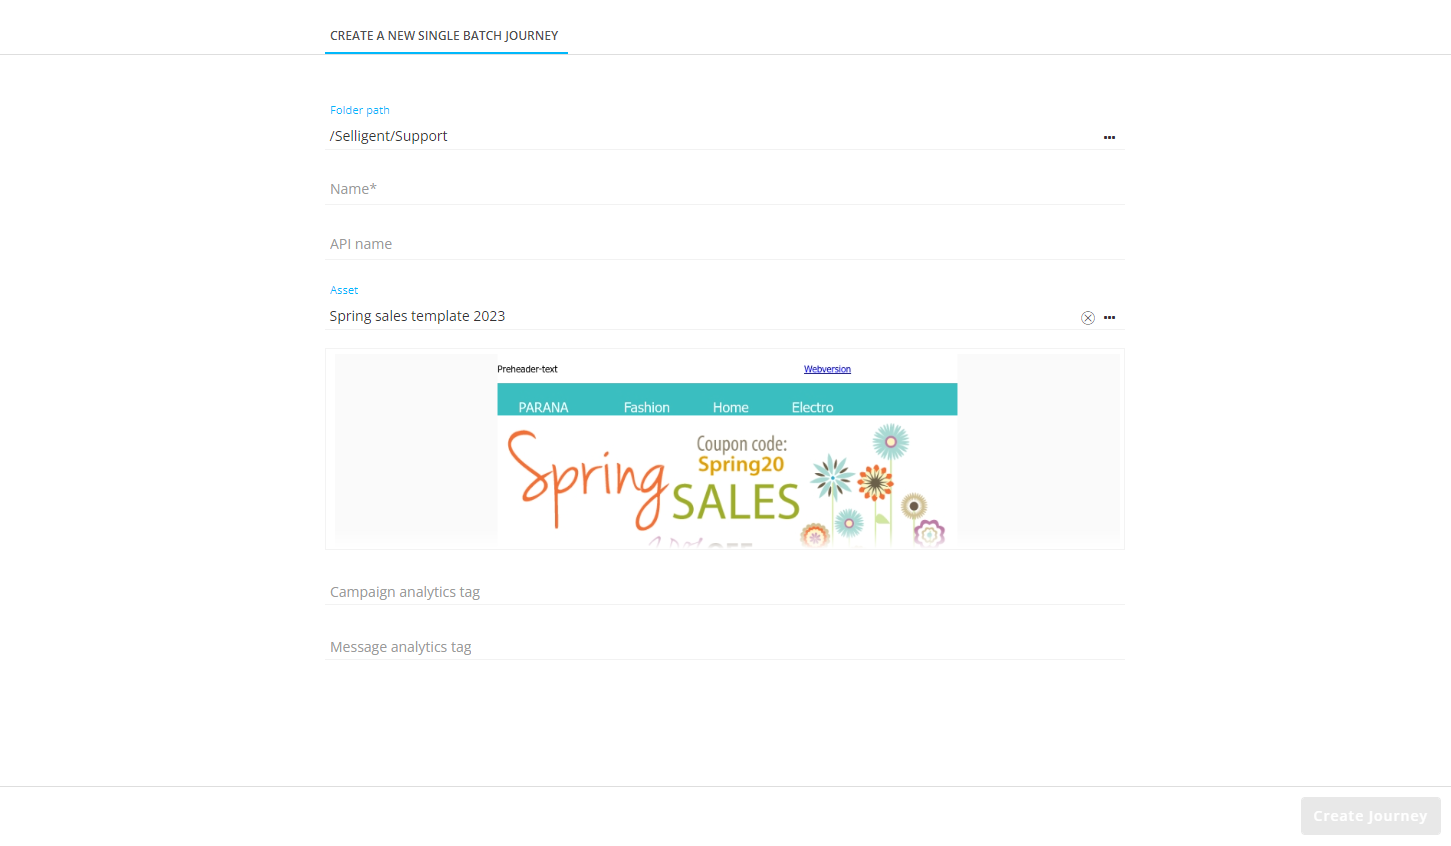
Enter a journey name; for example 'Spring Sales journey 2023'.
(The API name will be filled automatically while you type the journey name.)
You can change the folder path when needed.
-
Click 'Create Journey' at the bottom-right.
-
A confirmation will be shown, and the journey details are shown on the screen :
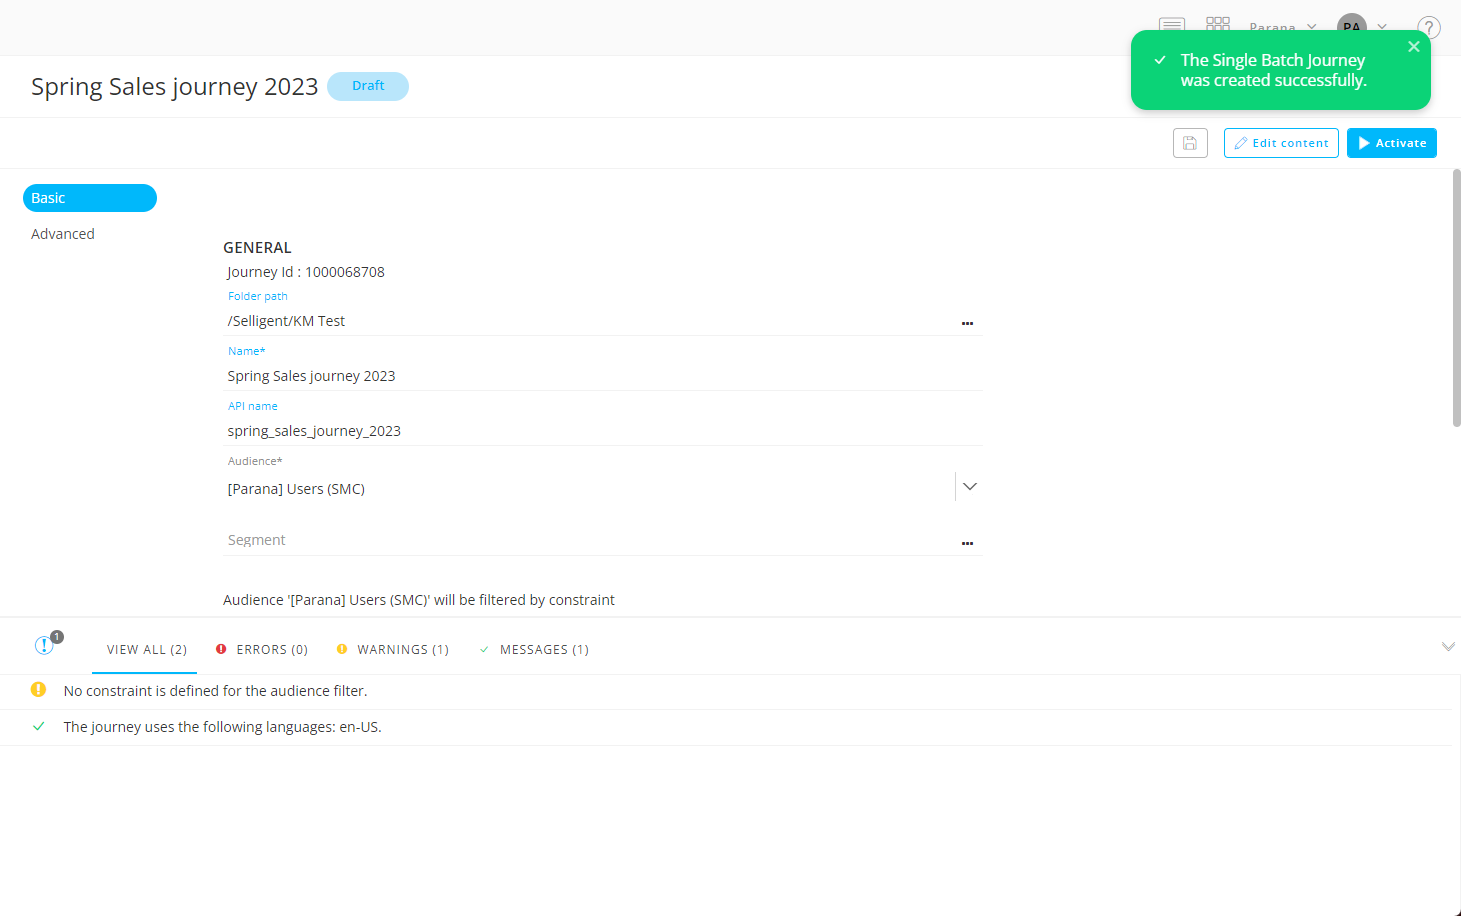
Notice that in the validation pane at the bottom, there's a warning saying 'No constraint is defined for the audience filter', which means that if we would activate this journey now, the email would be sent out to the entire audience.
Edit unlocked content
As this journey has been created from a template, the marketer can still edit all unlocked content.
Let's to this now.
Click on the 'Edit content' button at the top-right.
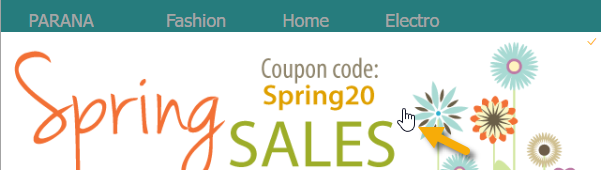
The template content is shown.
When hovering over a locked component, a prohibition icon is shown :

When hovering over an unlocked component, a pointer icon is shown :
-
Edit the image — Select another image.
-
Edit the text — Change the font style, font size, and add some new lines.
Set up an audience constraint
As we only want to send the email to a limited target audience, let's set a constraint.
Note: When you're editing the template content for this Single Batch Journey, you'll need to click on the 'Schedule' button to switch to the journey properties.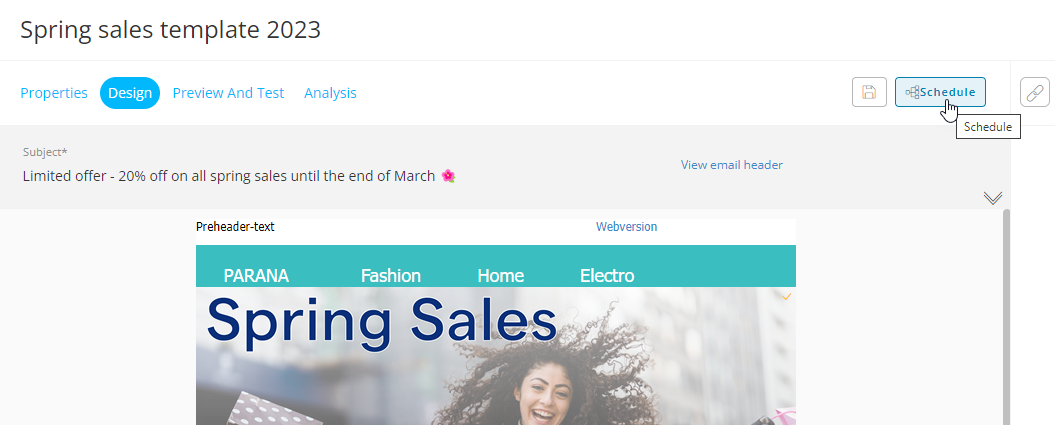
In our example, the total number of contacts in the audience is 17 (this is just an example, and will of course be a lot higher for your case).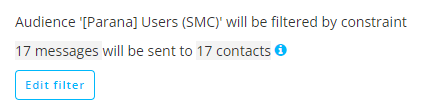
-
To create an audience constraint, click on the 'Edit filter' button.
-
Set a constraint as follows :
(Constraint type - List - Field - Operator - Value)
Audience - Master - Opt-out - is empty -
After clicking 'OK', the audience constraint will be applied and an automatic re-calculation of the target audience takes place.
The number of contacts to target is no longer the full audience list, but a limited audience, taking the constraint into account.
See the video below, showing the constraint setup :
We could schedule this journey to be launched at a later date and time, or at and optimal (predicted) time for each contact.
But we want to launch it immediately on activation, so we'll keep the default 'launch now' setting.
Note: To get detailed information about all basic and advanced settings in Single Batch Journeys, consult this topic.
Save the journey.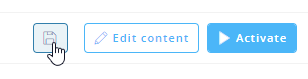
It's ready to be activated now.
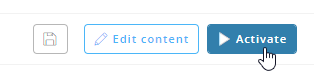
Send out emails through the journey
To get the journey in an 'active' state, so it actually sends out the email to the targeted contacts, the 'Activate' button needs to be clicked.
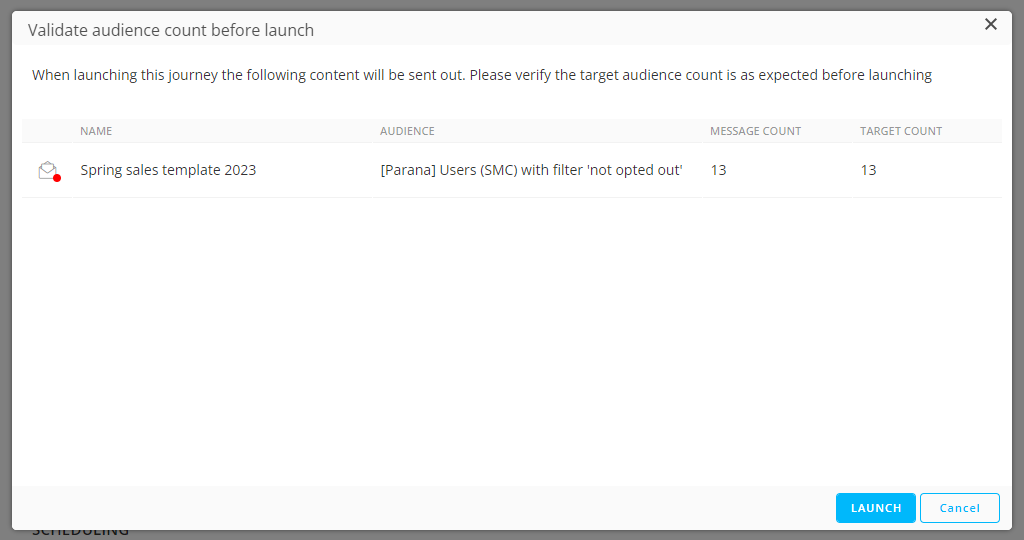
A validation pop-up appears to verify if the target audience count is as expected.
If that's okay, click the 'Launch' button :
A confirmation is shown.
The journey is activated, and in 'scheduled' state.
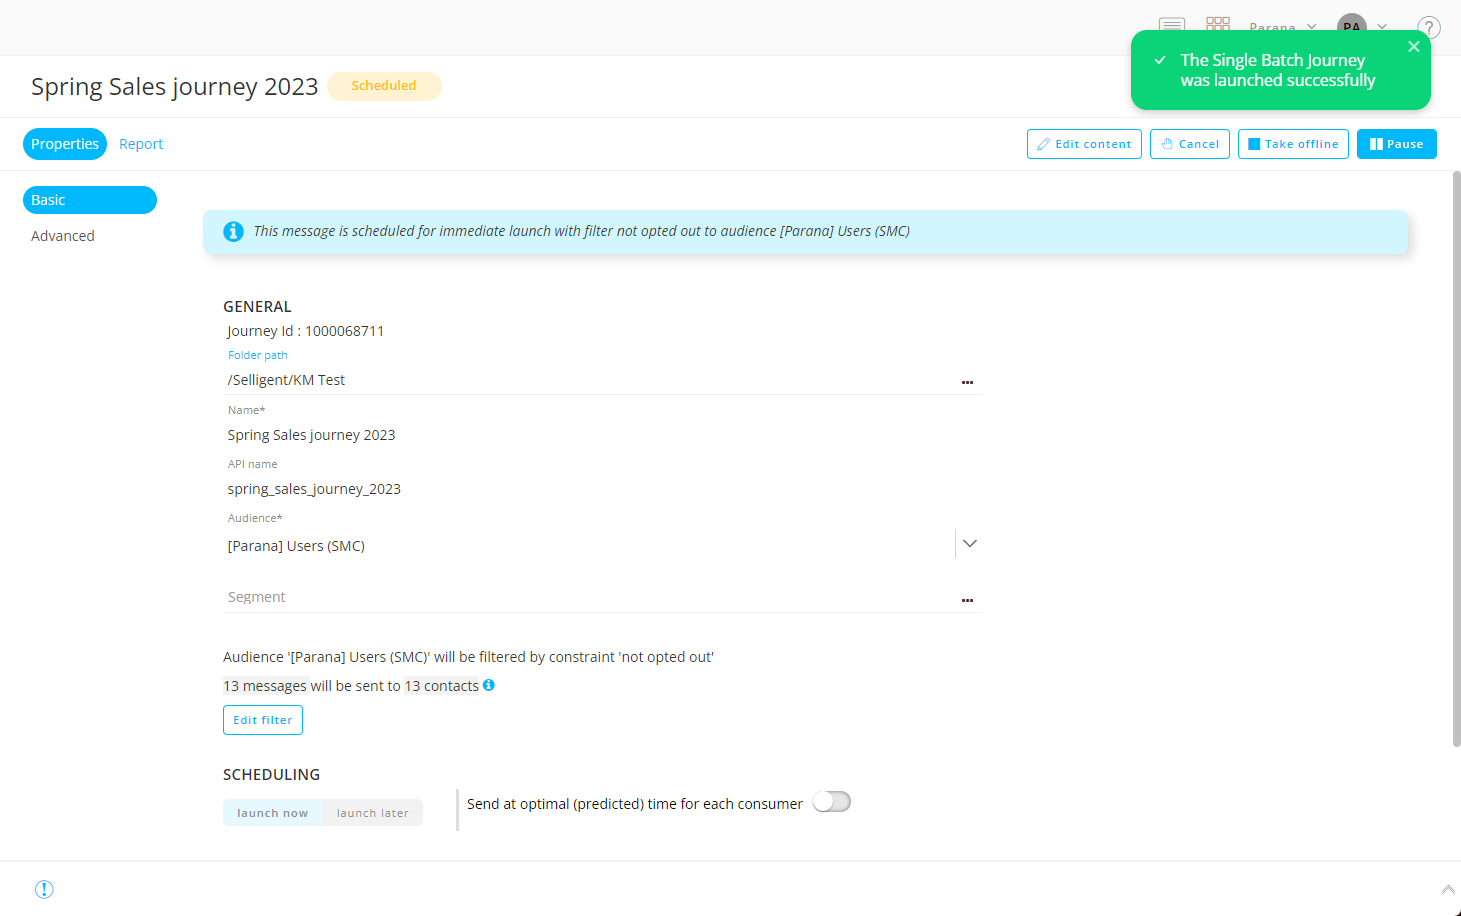
As we used the default 'launch now' scheduling option, it will immediately send out the email to the targeted contacts, who will receive the email in their inbox.
The state of the journey becomes 'executed', and info is shown :
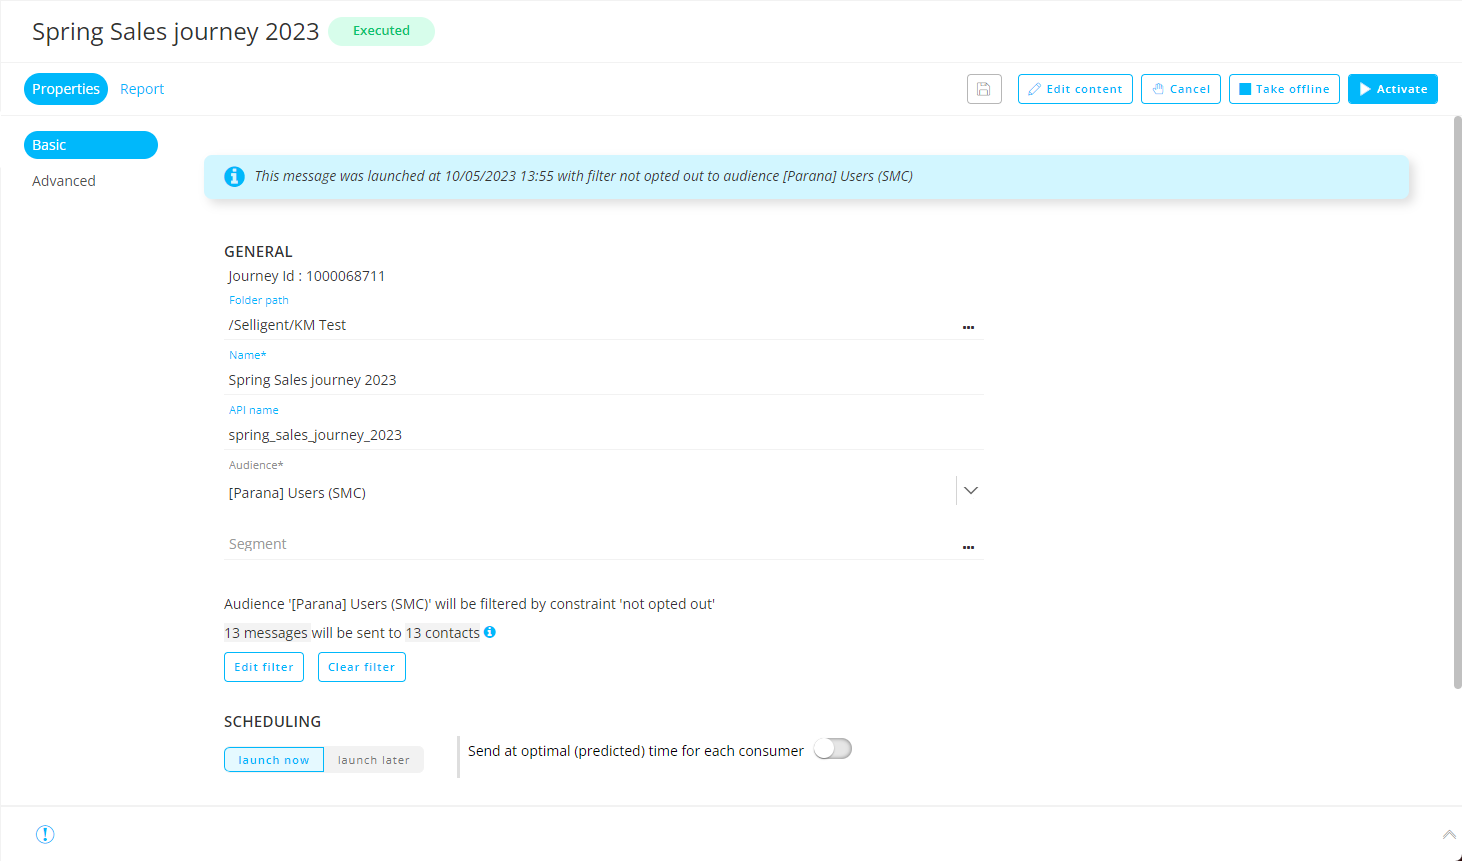
Note: The Selligent by Zeta page is not automatically refreshed, so you'll need to refresh your browser's page or close/re-open this journey to see the state change and launch info.
| STEPS : |
|---|
| 1. Create a new template |
| 2. Design the template content |
| 3. Add template header |
| 4. Extract text version |
| 5. Test/Preview the template |
| 6. Create a basic journey to send out the email template to contacts |
